Easy DIY Rainbow Backdrop | Colorful Rainbow Party Background
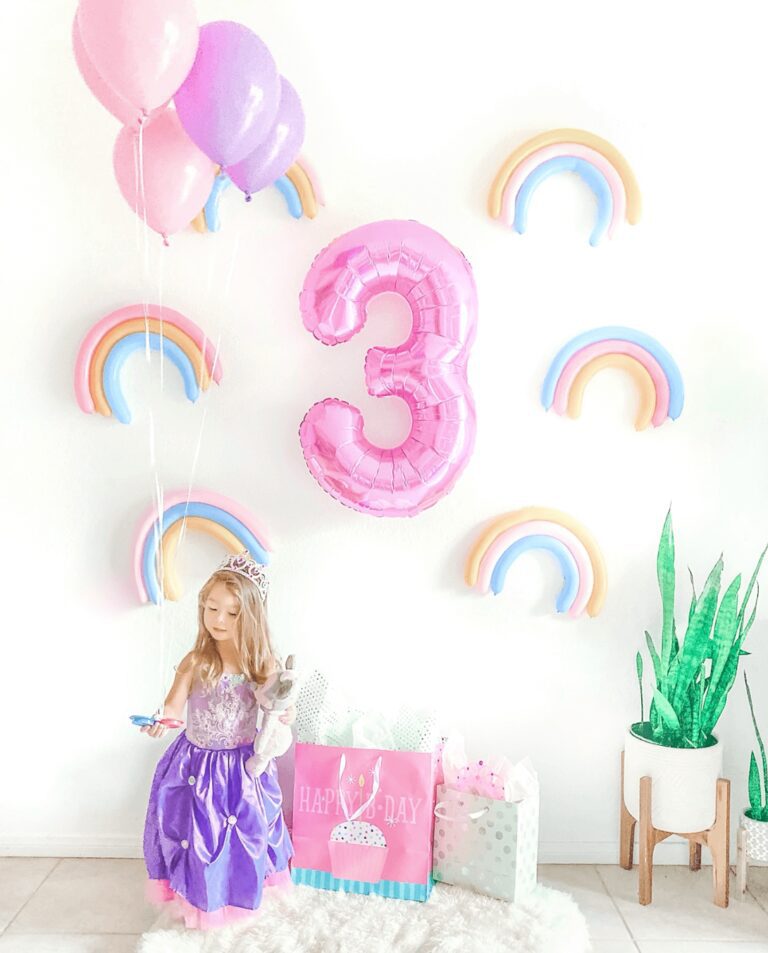
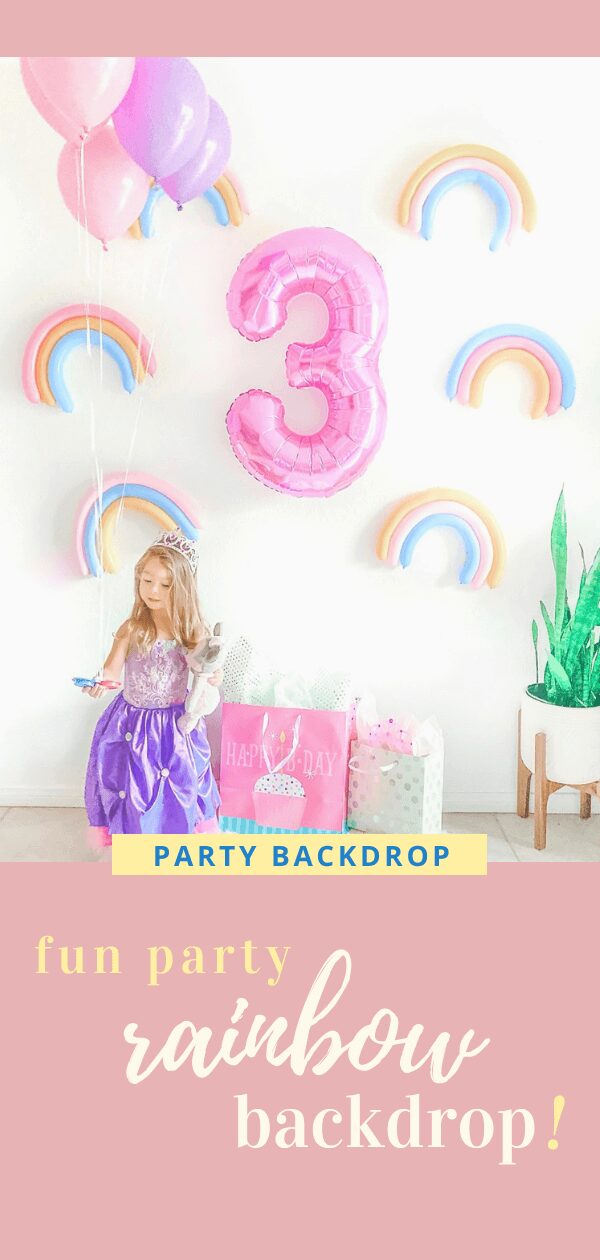
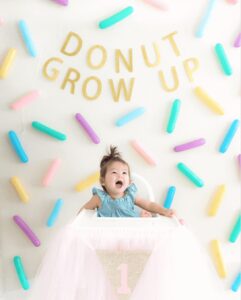
I am back with another creative way to decorate with these balloons that I’m obsessed with! People mainly purchase these balloons to use for balloon animals (which works great!) But, our family uses these balloons for many projects, crafts, decorations and like in our most popular trending “Donut Grow Up” Party seen here! This time we are using these balloons for a Rainbow Party for our daughter’s 3rd birthday.
This time around, I made rainbows out of these balloons. My daughter is currently obsessed with all things rainbow, bright colors, and unicorns! Anyone else can relate?!
Here is how we made a rainbow balloon backdrop!
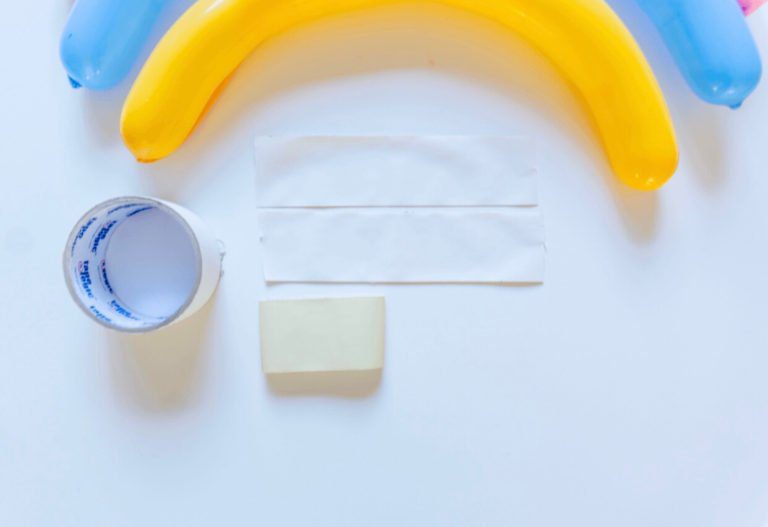
MATERIALS
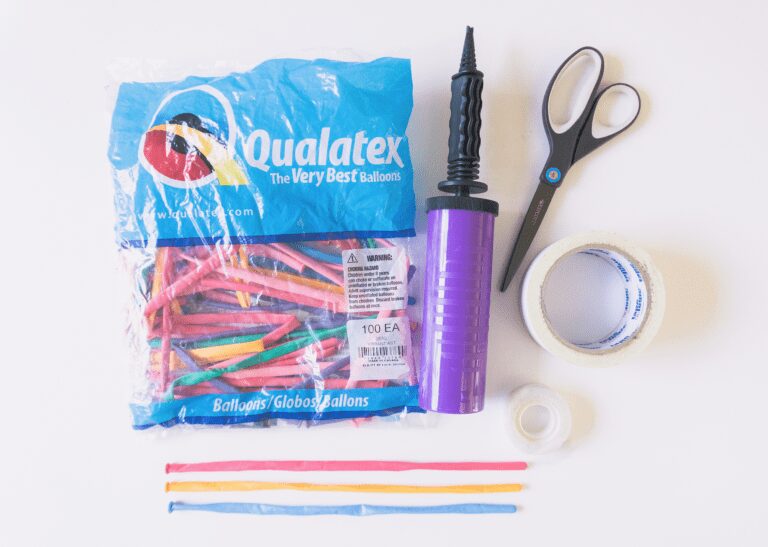
▷ Balloons
▷ Hand Pump
▷ Gaff Tape
▷ or Double Sided Tape
▷ Scissor
▷ Scotch Tape
STEP ONE
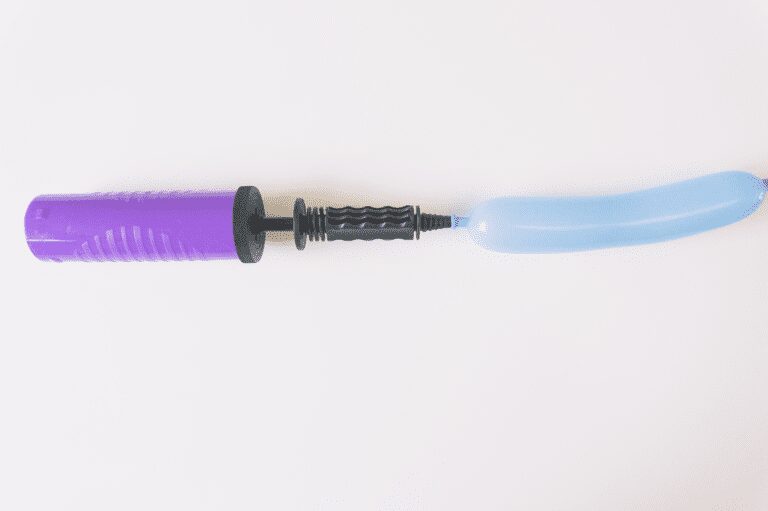

Time to use your hand pump.
This hand pump makes life so much easier!
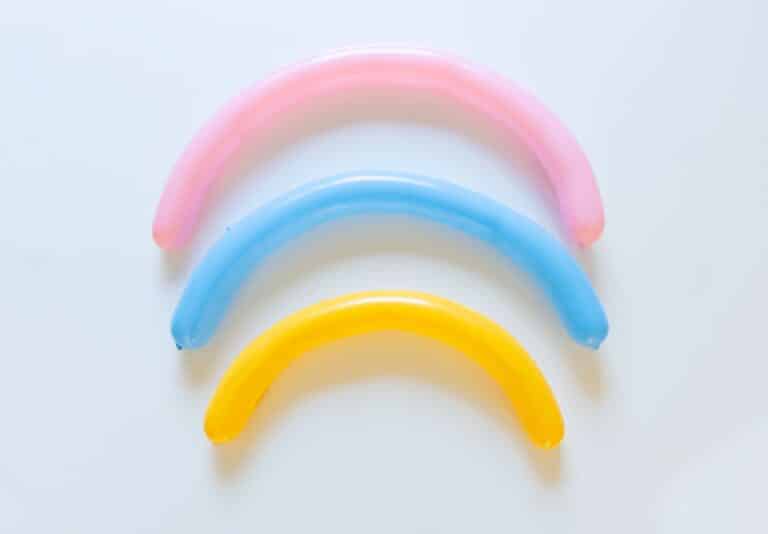
HOW LONG SHOULD THE BALLOONS BE?
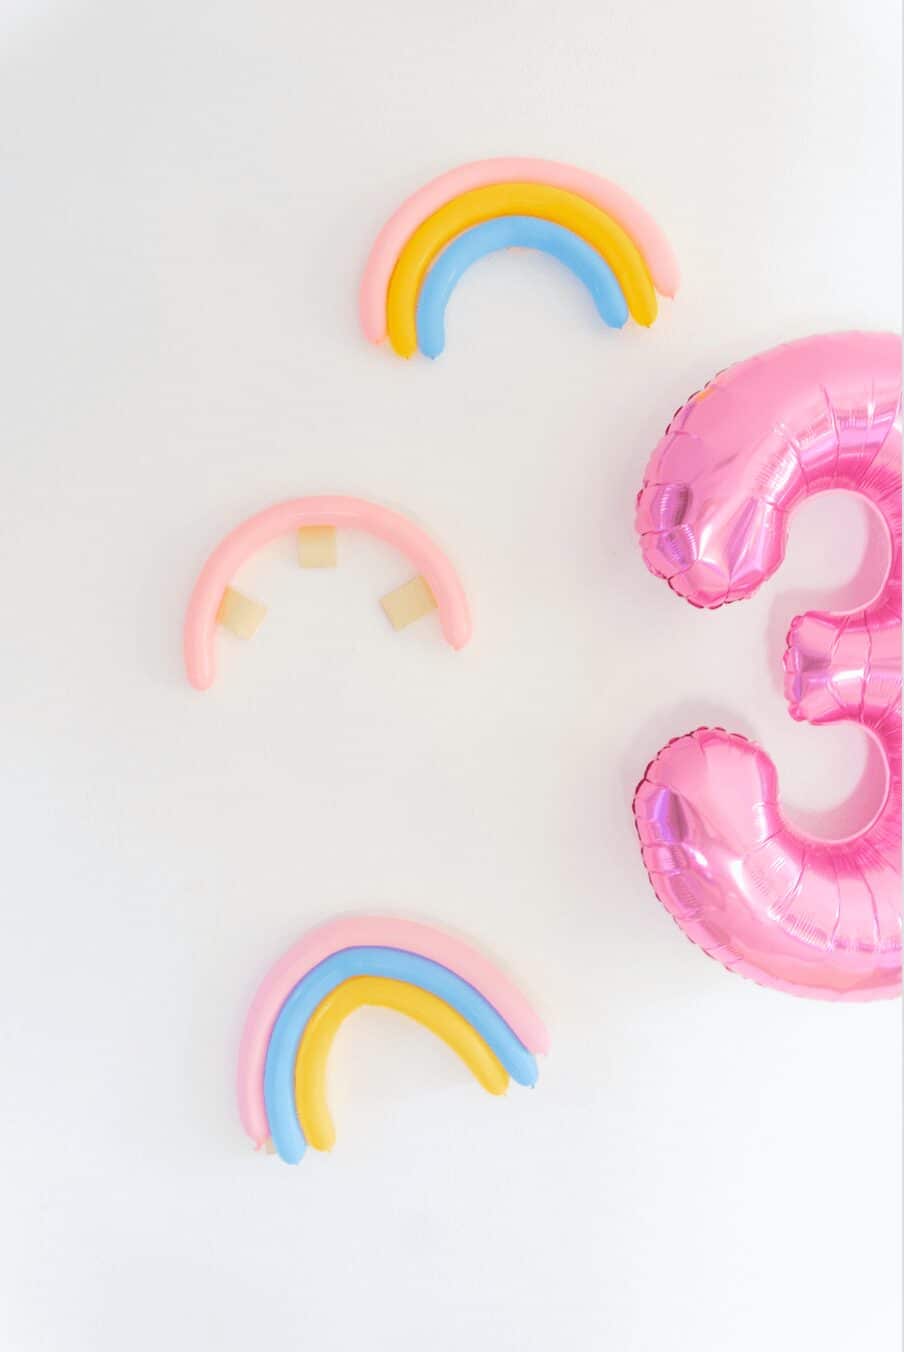
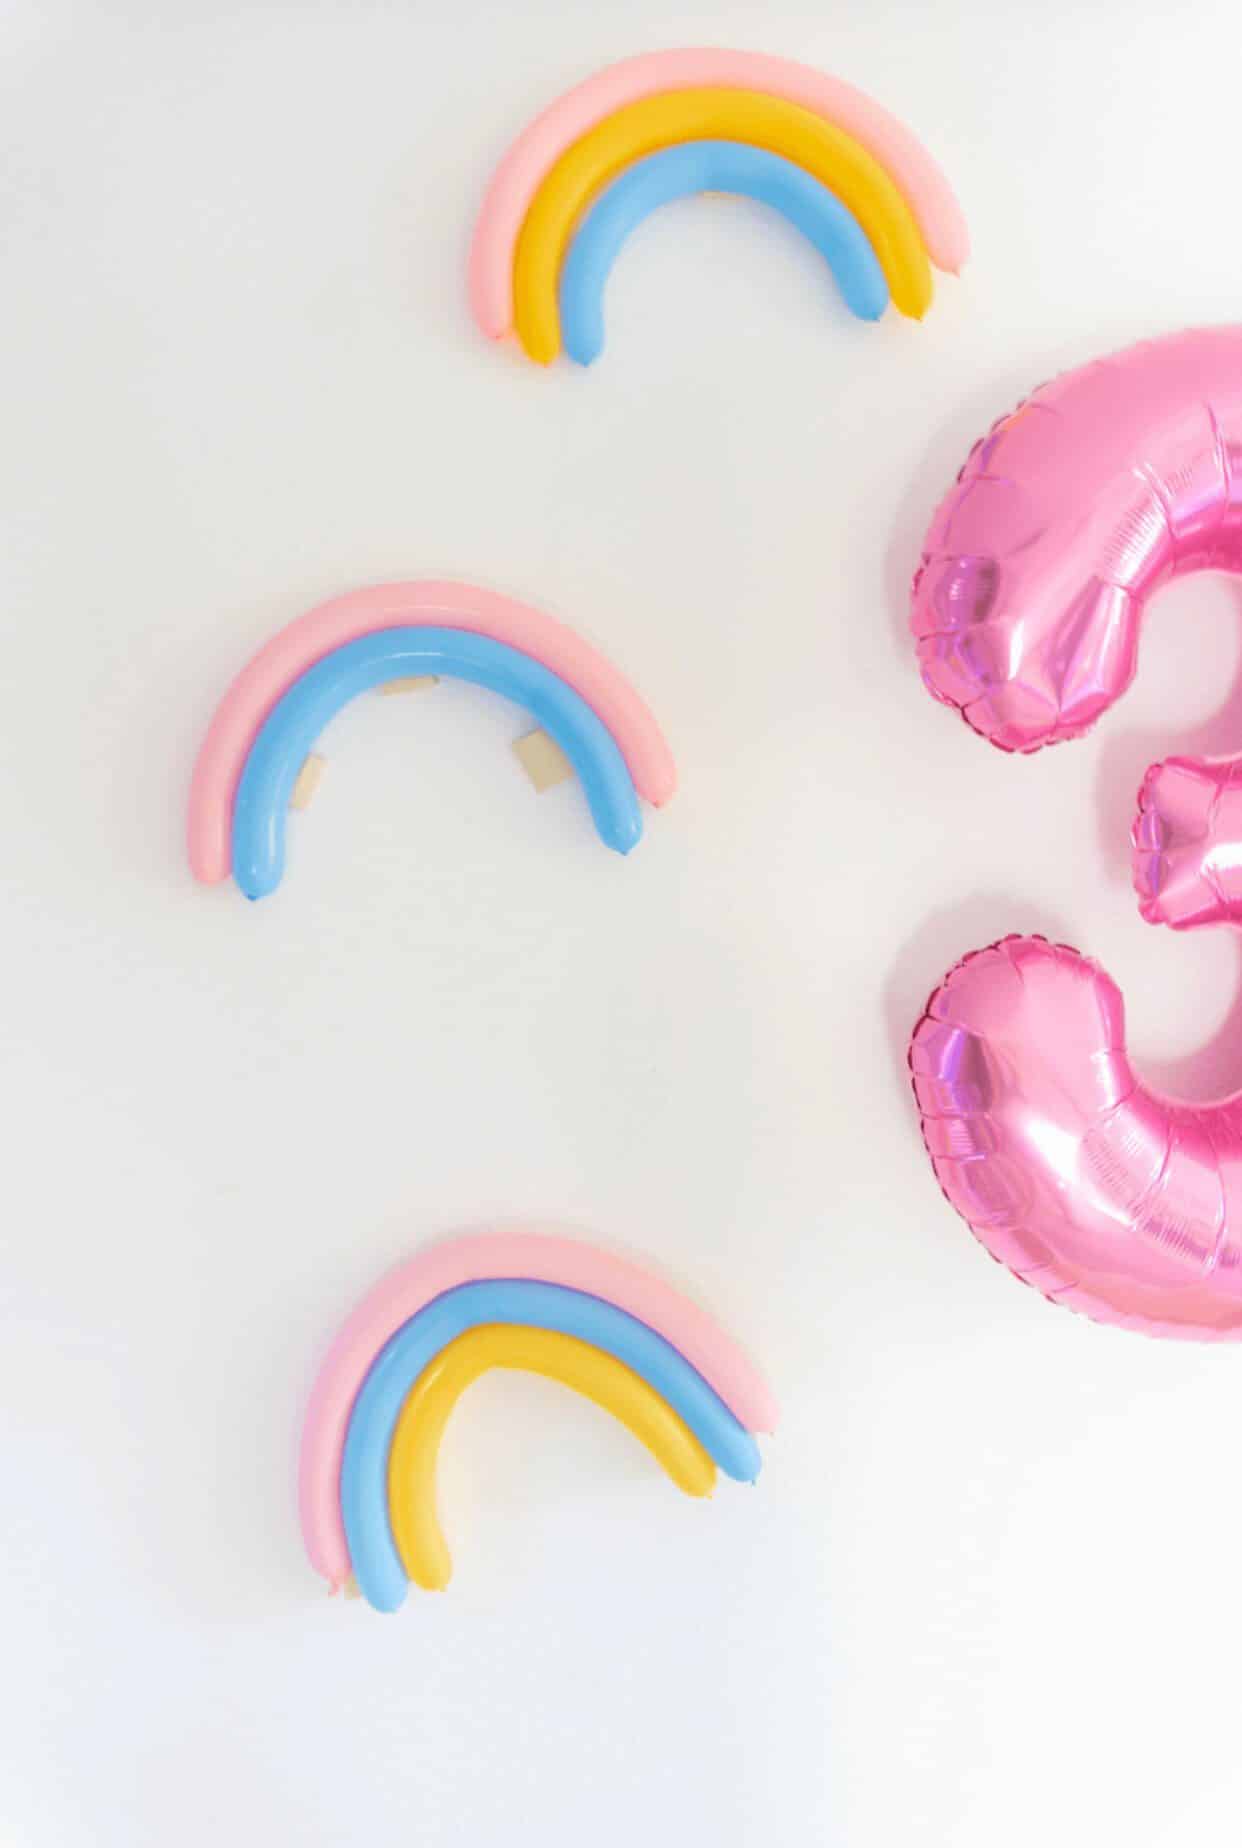
These are the approximate sizes I used.
Top Color – Longest Piece 25″ inches
Middle Color – Middle Piece 22″ inches
Lower Color – Shortest Piece19 inches
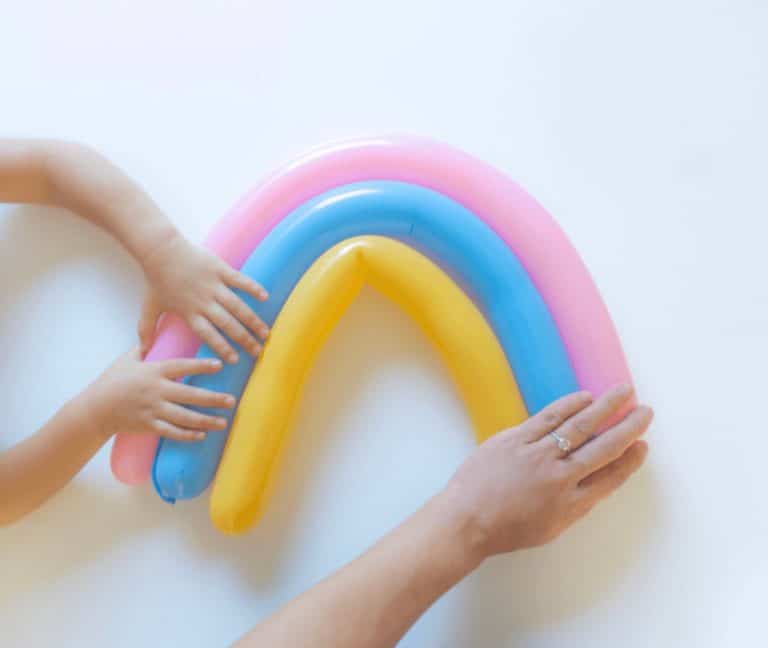
My best advice is to first blow up your longest piece to your liking and then blow the middle piece to be slightly shorter and see how it looks under the longest piece, and so forth. Here is my toddler helping me frame our rainbow!
It is also good to bend the balloons after blowing them. This helps the balloons maintain its curvy shape on the wall to create a good rainbow.
STEP TWO
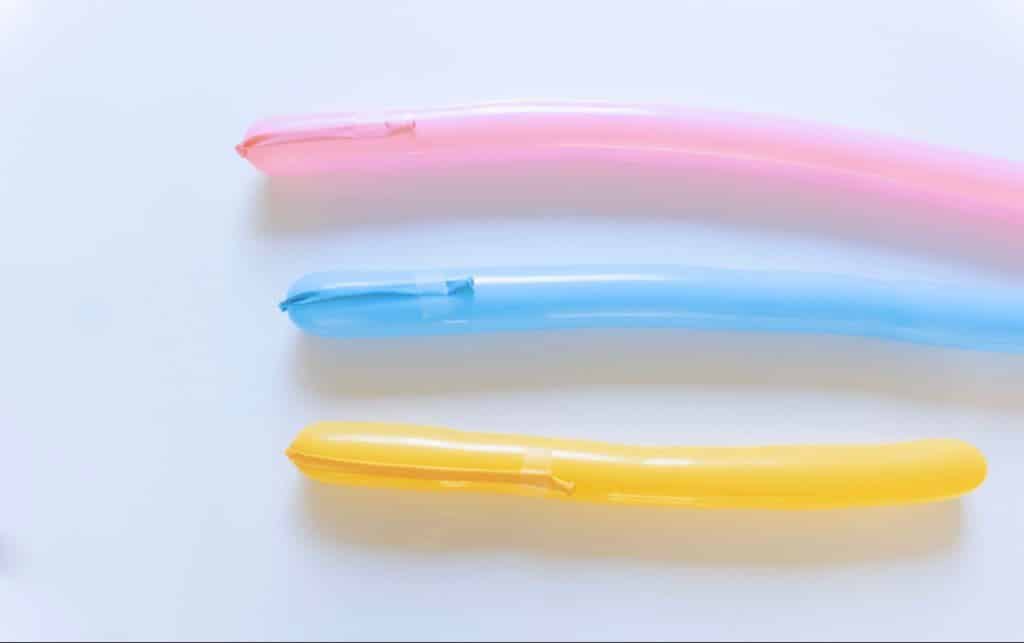
Use your scotch tape to tape the excess and fold it over the balloon or simply cut the excess with scissors.
STEP THREE
Time to get out your gaff tape or double sided tape.
Use enough tape to cover the width of your rainbow.
ie: the width of my rainbows were approximately 4.5 inches.
NOTE: The reason why I used gaff tape is because it was the only tape that does not remove paint off my wall AND the balloons sticked on the wall for weeks! I used gaff tape when I worked in television production, and it’s the best!
You will place your tape on the wall like “rays of sunshine”
(shown above)
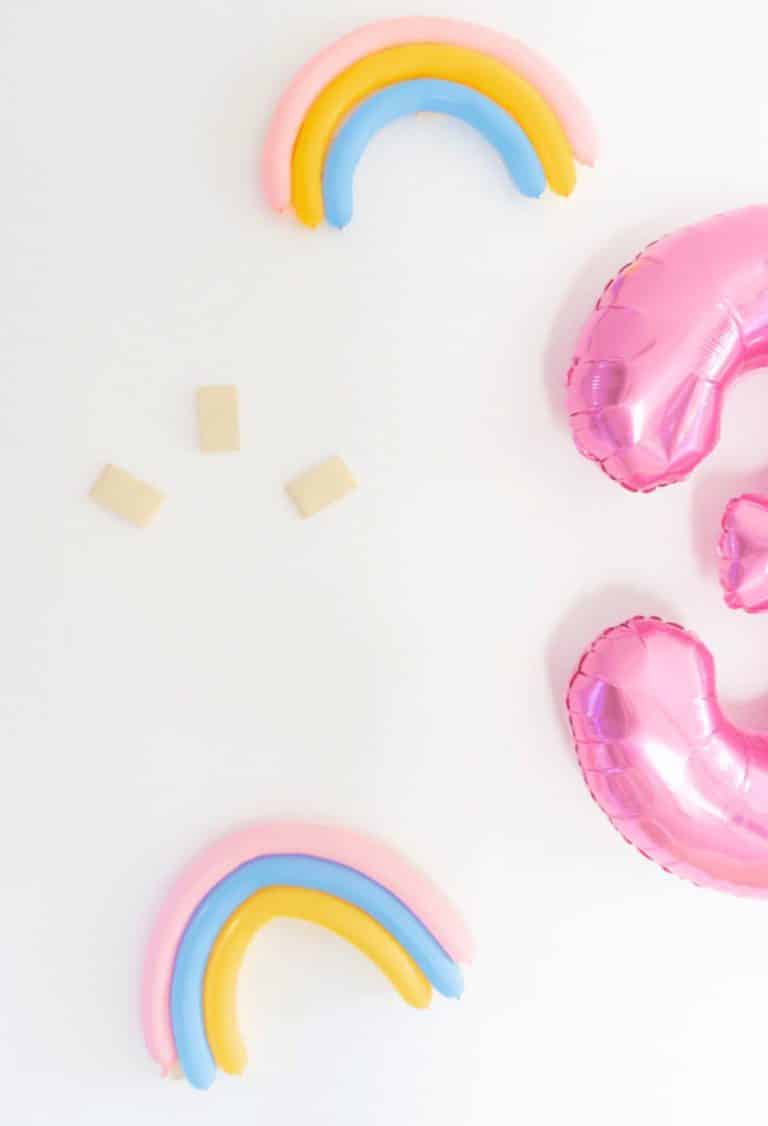
STEP FOUR
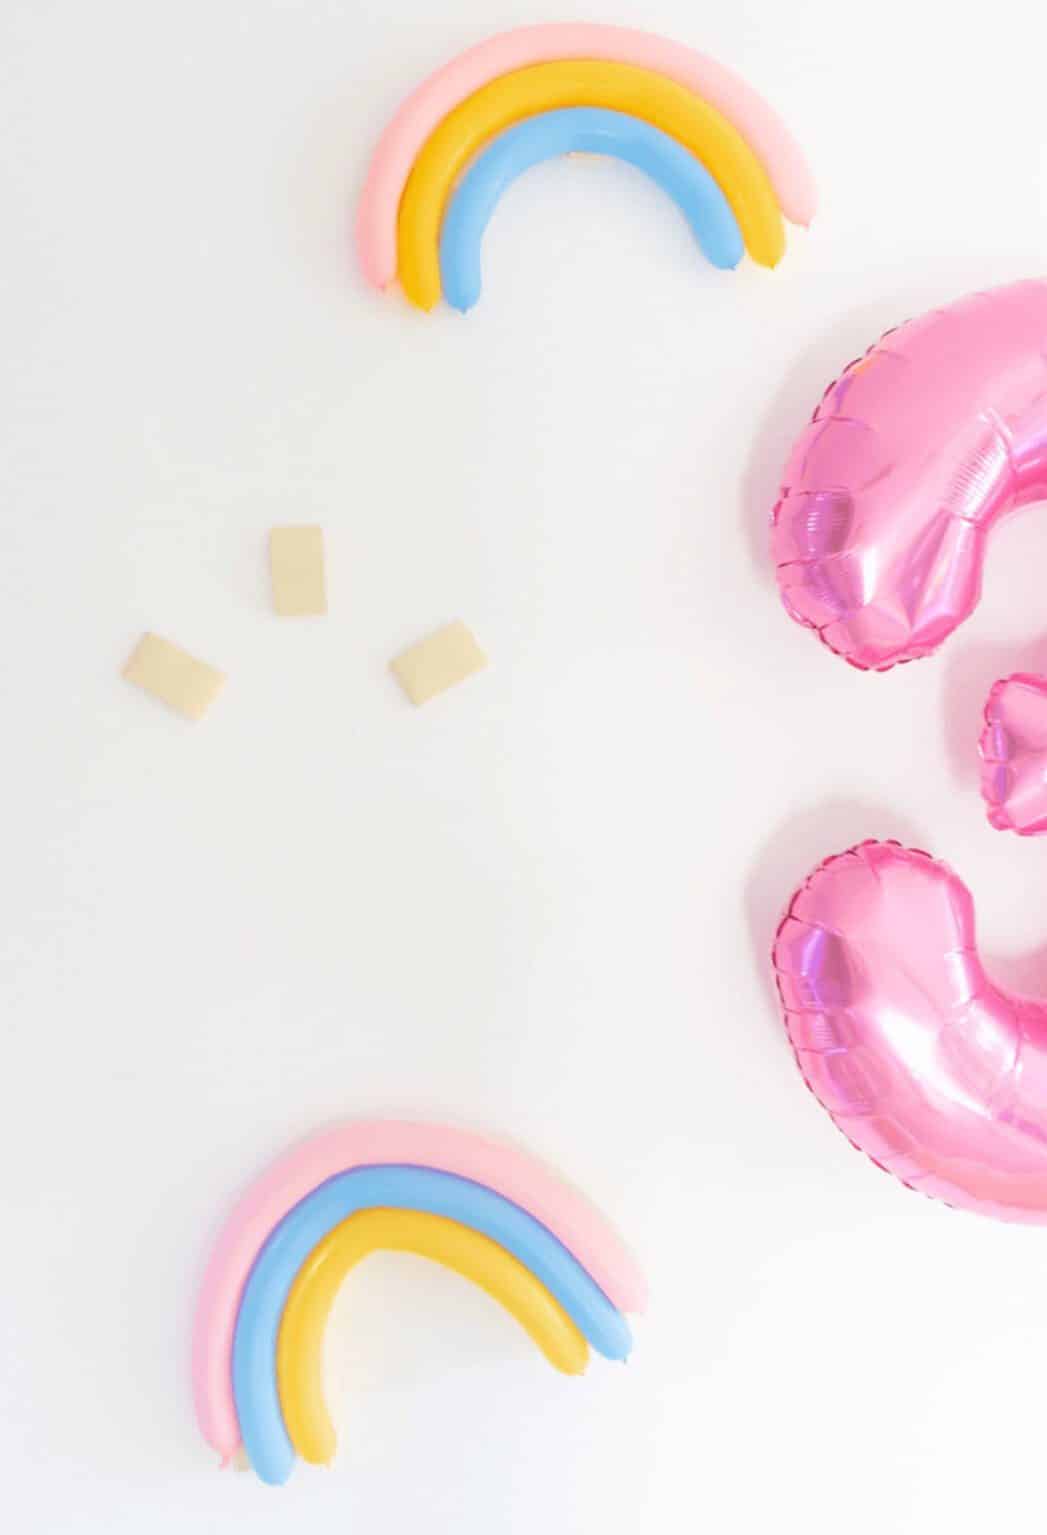

Time to tape up your balloons to create rainbows!
Start with the longest/top piece, then middle, and then bottom piece.
Then TA-DA!!
You made an adorable rainbow backdrop!
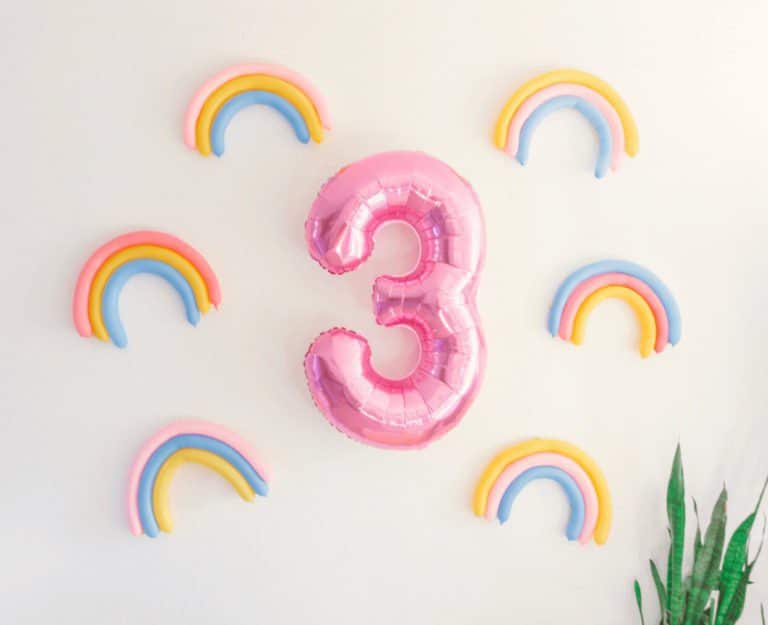
NOTE: the “3” pink balloon was from Amazon.
Hope you enjoy making this rainbow background as much as my daughter and I did! Let me know if you have any questions or if you made this wall! I would love to see it.
PIN IT on PINTEREST