5 Easy Upgrades for an Awesome Playhouse! | Playhouse Makeover
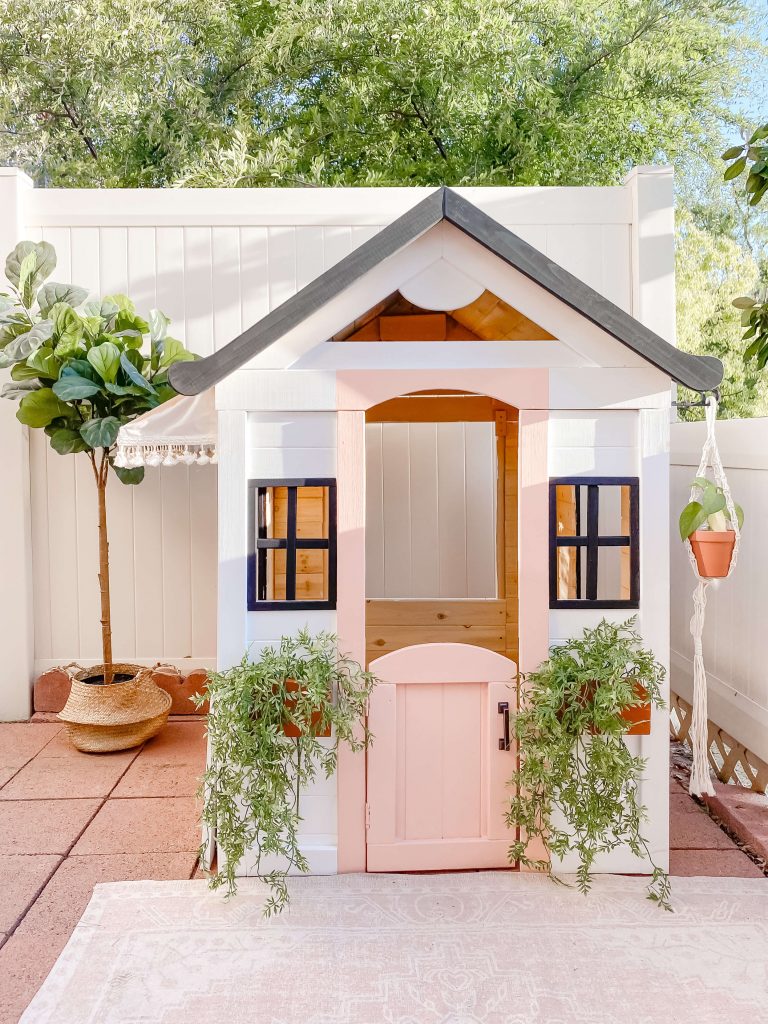
I love kids playhouses! Playhouses inspire creativity and imagination for kids. My toddler (4 years old) loves that it is her own little space, where she can pretend play and it is so sweet to see! There are hundreds of playhouses online and you can even find instructions to DIY playhouse. All the options can get overwhelming! Unfortunately, the one we purchased is discontinued, but here are great alternatives that are very similar to what we have! These are perfect wooden playhouses to personalize for your kids and give it a great playhouse makeover!

We purchased a wood playhouse because it is simply easier to paint and DIY vs. plastic playhouses. You can certainly still repaint plastic playhouses, but there are extra steps to make sure you are using the correct paints to help it adhere to plastic.
Our playhouse is discontinued, but here are great alternatives that are almost identical to ours! These playhouses are totally customizable!
Below are 5 easy and fun ways to make your playhouse awesome.
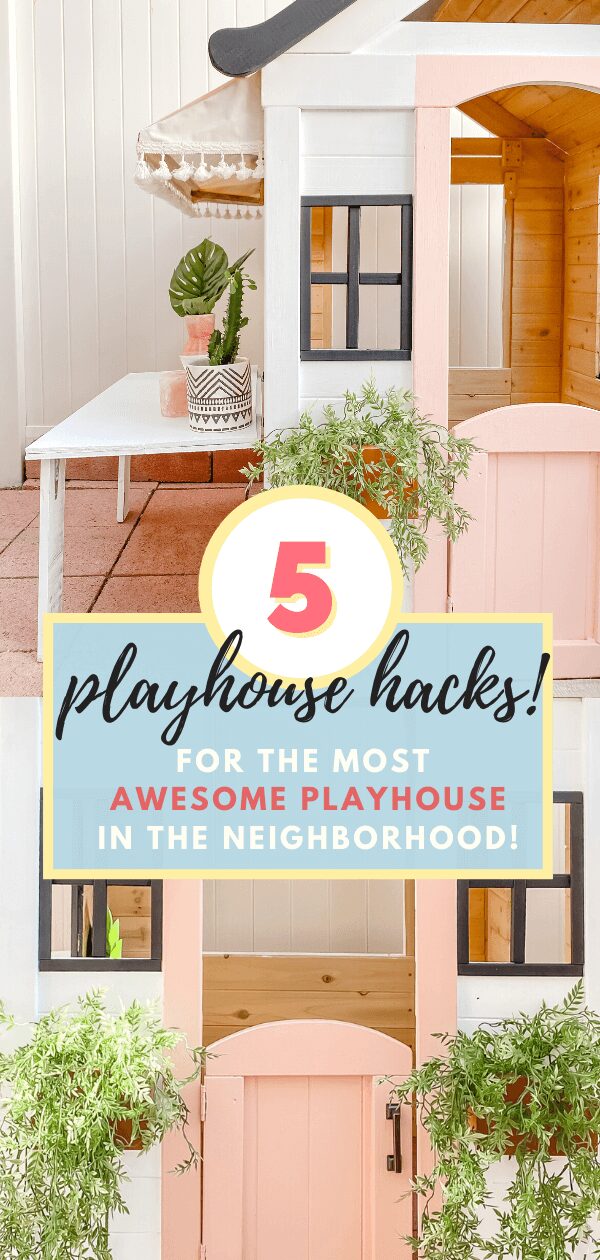
5 EASY PLAYHOUSE HACKS
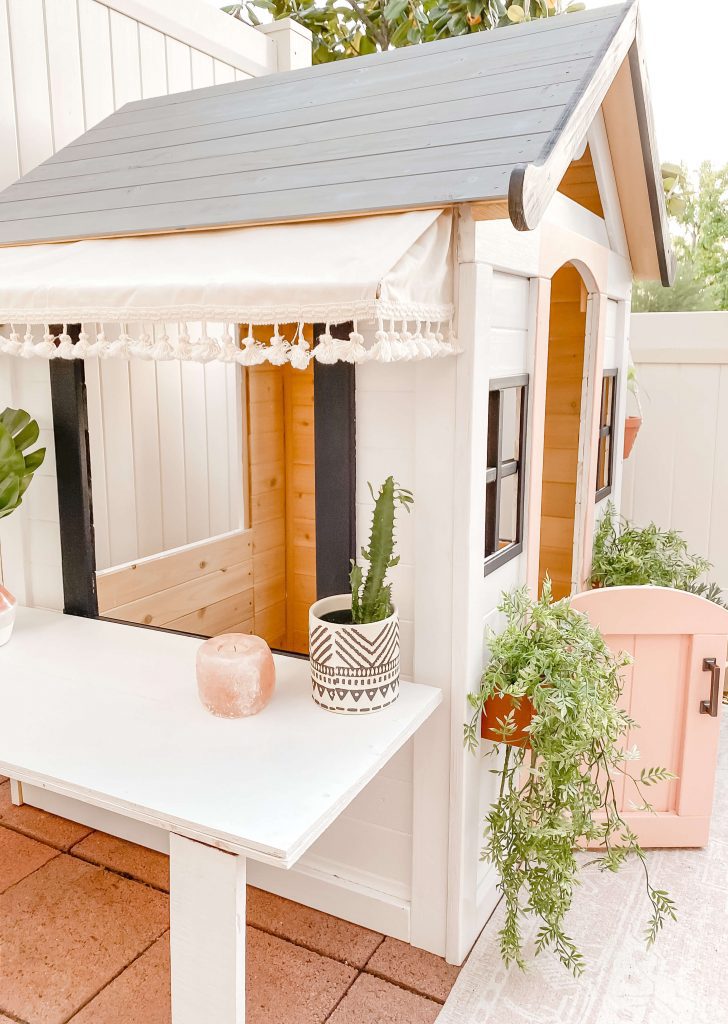
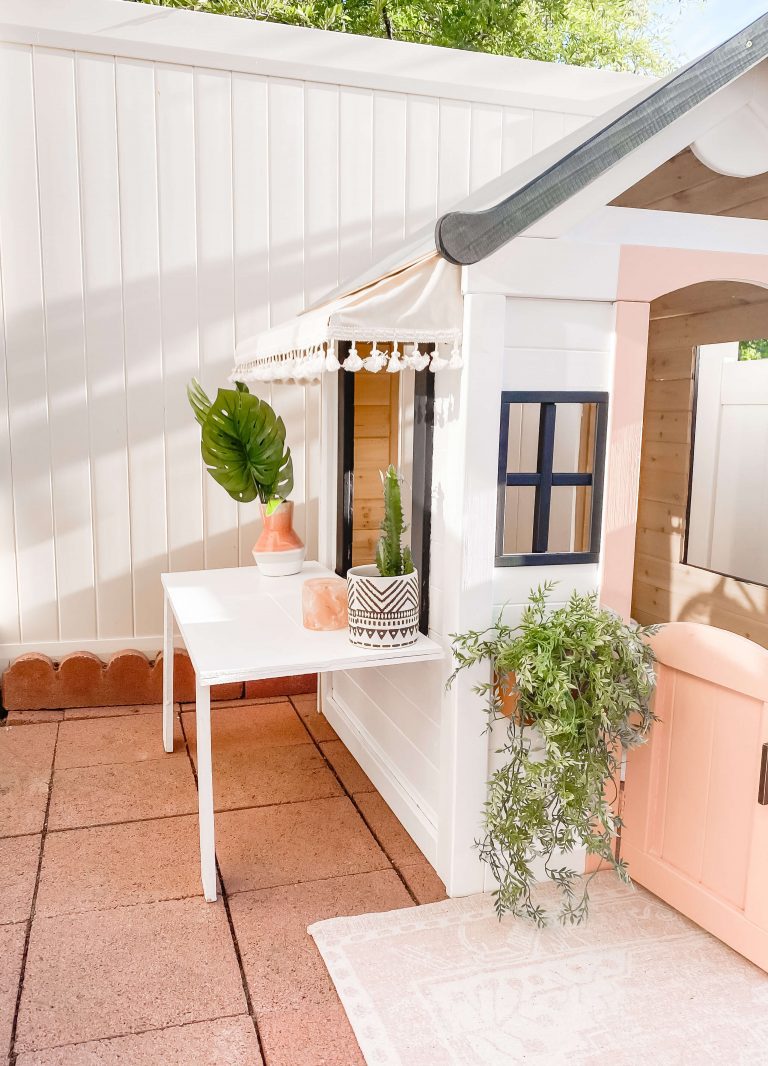
1) Add some shade!
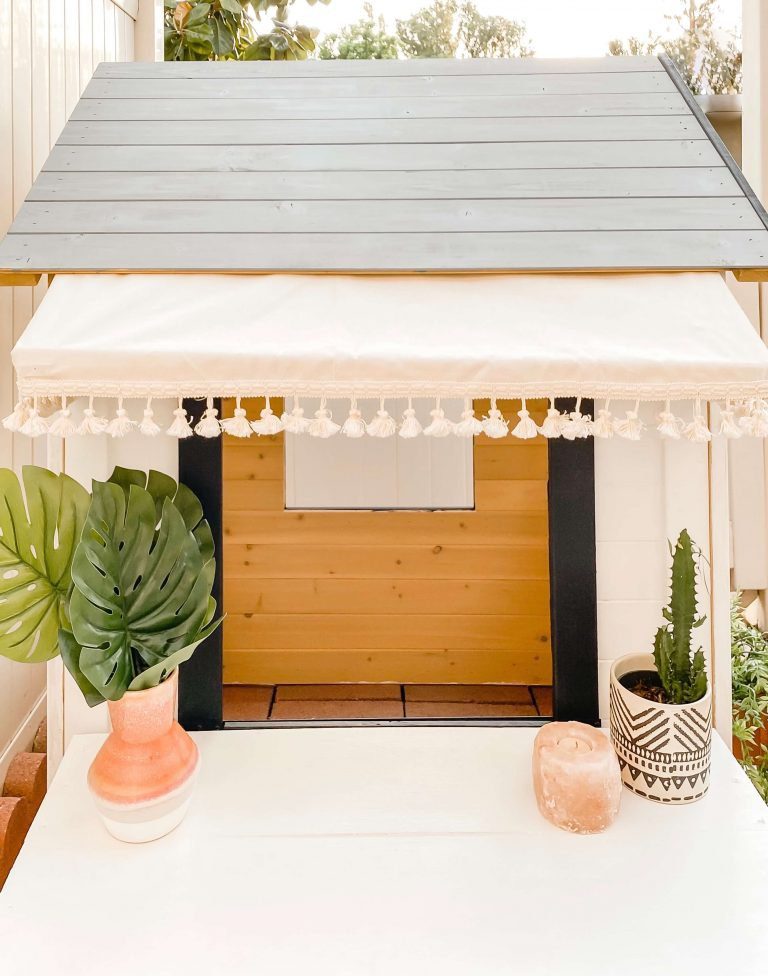
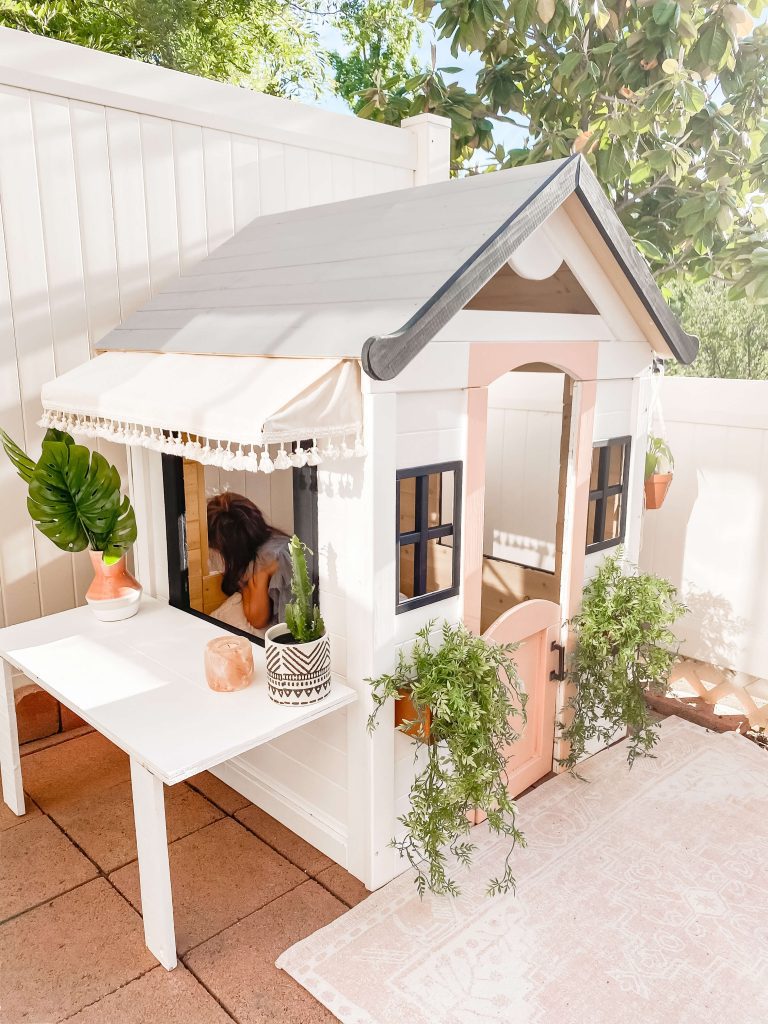
You can personalize your playhouse by adding some curtains, an awning, umbrella, etc. I decided to add an awning shade and it only cost me $7 to make!!! Below are the items I used to make my playhouse awning.
Tassel Ribbon | $2
My exact ribbon is out of stock, below are some great alternatives.
Link 1 | Link 2 | Link 3
Wood | $1.50 | link
I used 1 wood piece and cut it down with a saw to separate pieces to make a L-shape, BUT this shelf bracket would make it a lot easier! I highly recommend using brackets that are at least 8 inches for a wider shade area for your kids. I only decided to use wood because I just had extra scrap wood laying around. If you use this bracket, make sure to purchase 2 (one on each end of the awning).
Then flip the bracket around (have it be the opposite of what it is meant to do for shelves), and all you would have to do is attach a long wooden dowel or long wooden piece that would connect the two ends of the awning/brackets.
Wooden Dowel | $1.39 | link
The purpose of this wooden dowel is to help create the shape of your awning. This will connect both ends (aka. your two shelf brackets) of your awning.
Fabric | $2 | link
I used this muslin fabric, but you can feel free to use any fabric you’d like!
2) Add a Table!
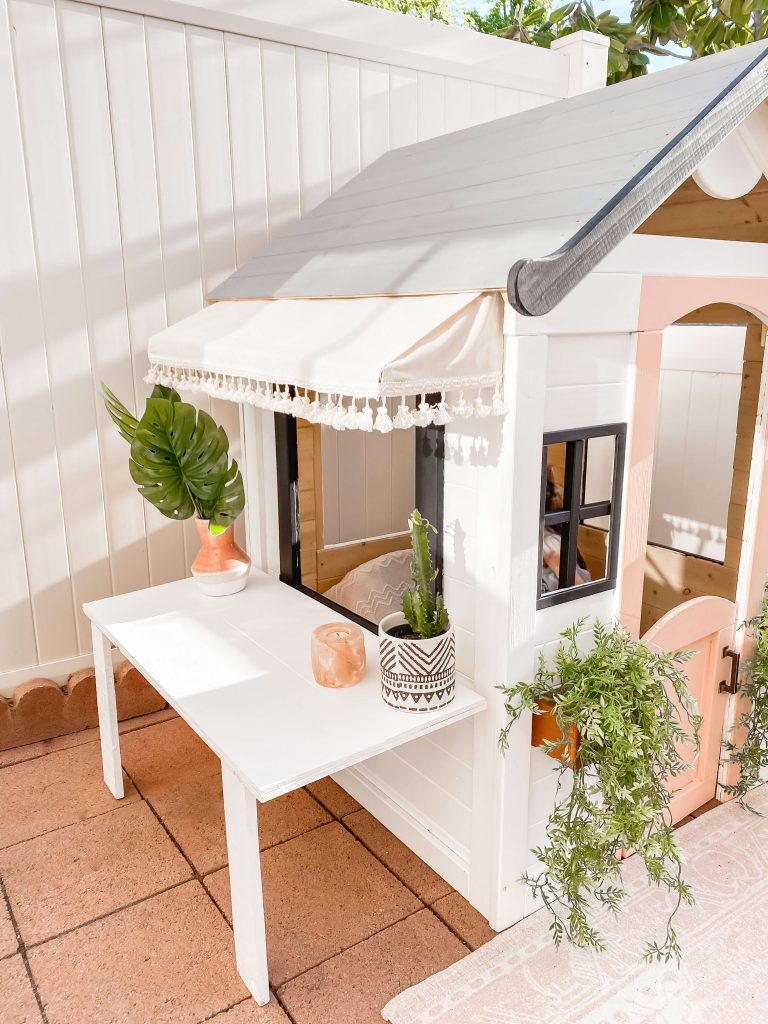

The last picture above is how the house looks when the table is collapsed. I wanted this playhouse to be more functional, so I decided to give it multiple purposes by adding a collapsible table that is attached to the playhouse.
I thought a table would be great for my daughter, Tenley, to use if she decides she wants to color or pretend she works at a cafe or eat her lunch outside, etc. I also decided to make the table collapsible to save space.
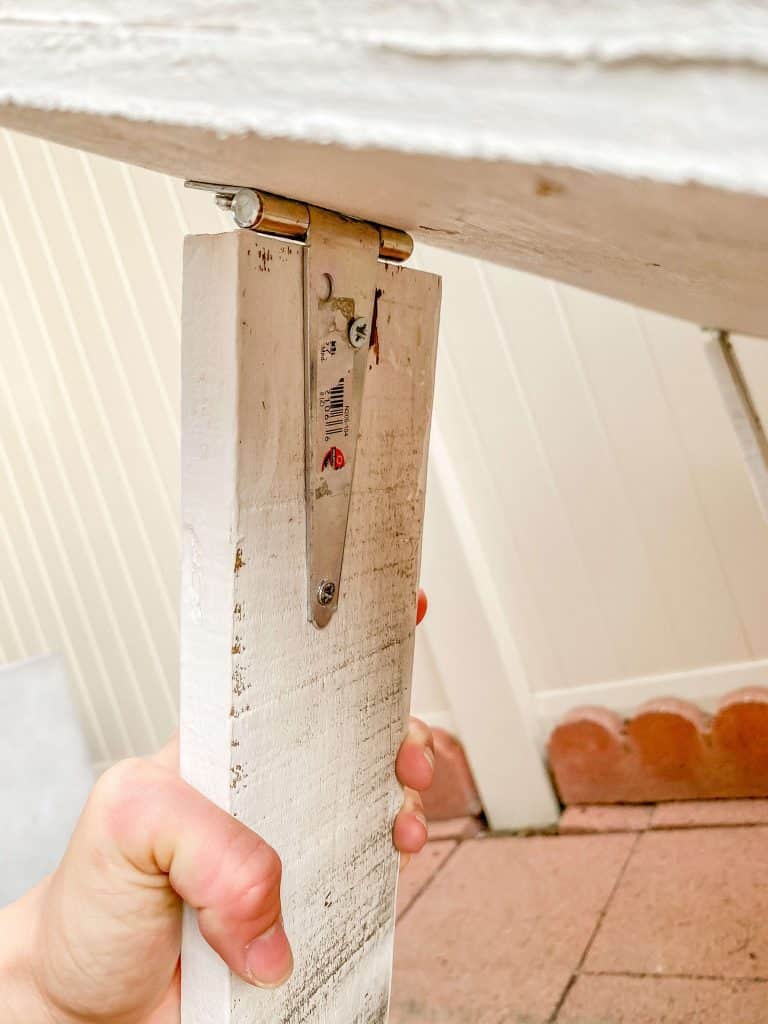
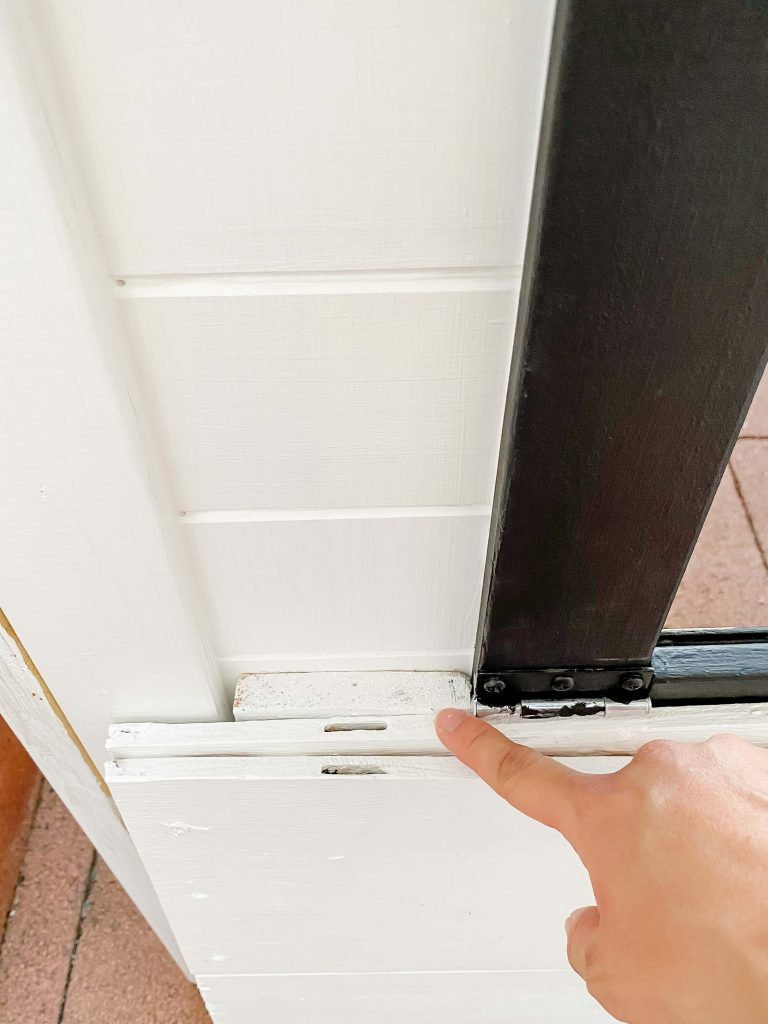
Here are the hinges ($4) I used! I purchased 4 of them. 2 of them attached the table top to the playhouse and the other 2 were connecting the table top and its legs.
3) Upgrade the Door!
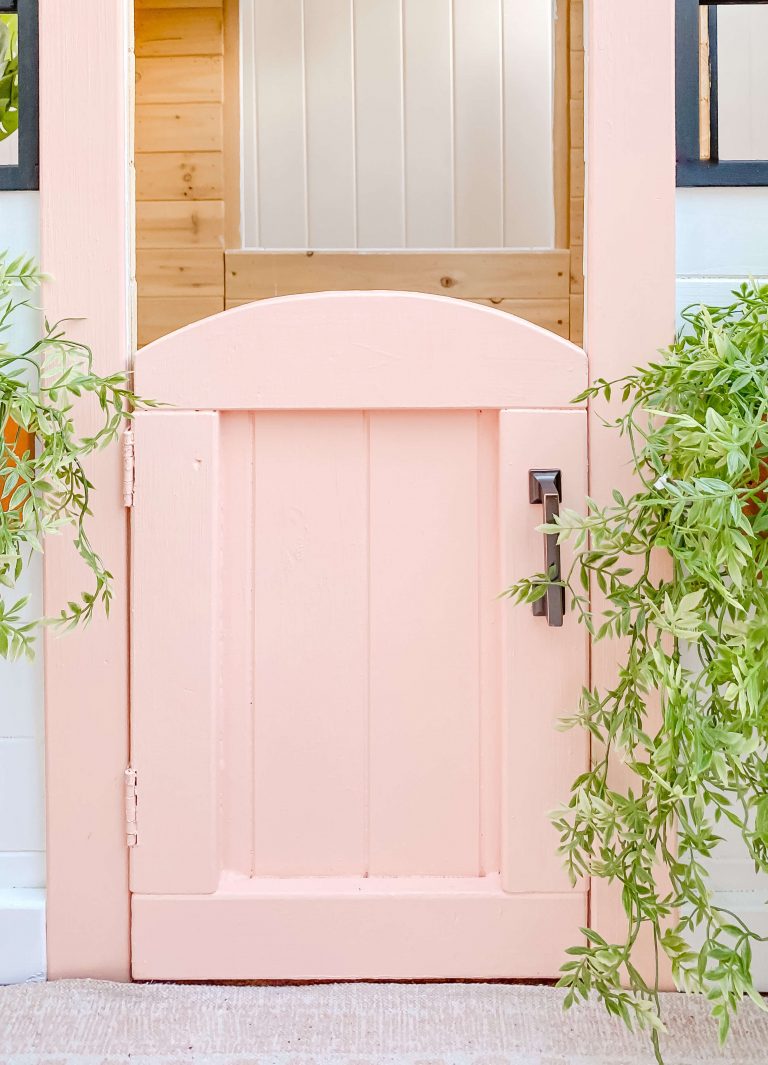
I love this door, because it was all my daughter’s choosing! She chose this beautiful pink color (Behr Paint: Pink Abalone), and the door knob, which is actually a cabinet handle. Here is one that is similar on Amazon!
We only used a sample size of Pink Abalone paint ($8) and purchased the “door knob” at a local hardware store for $3.
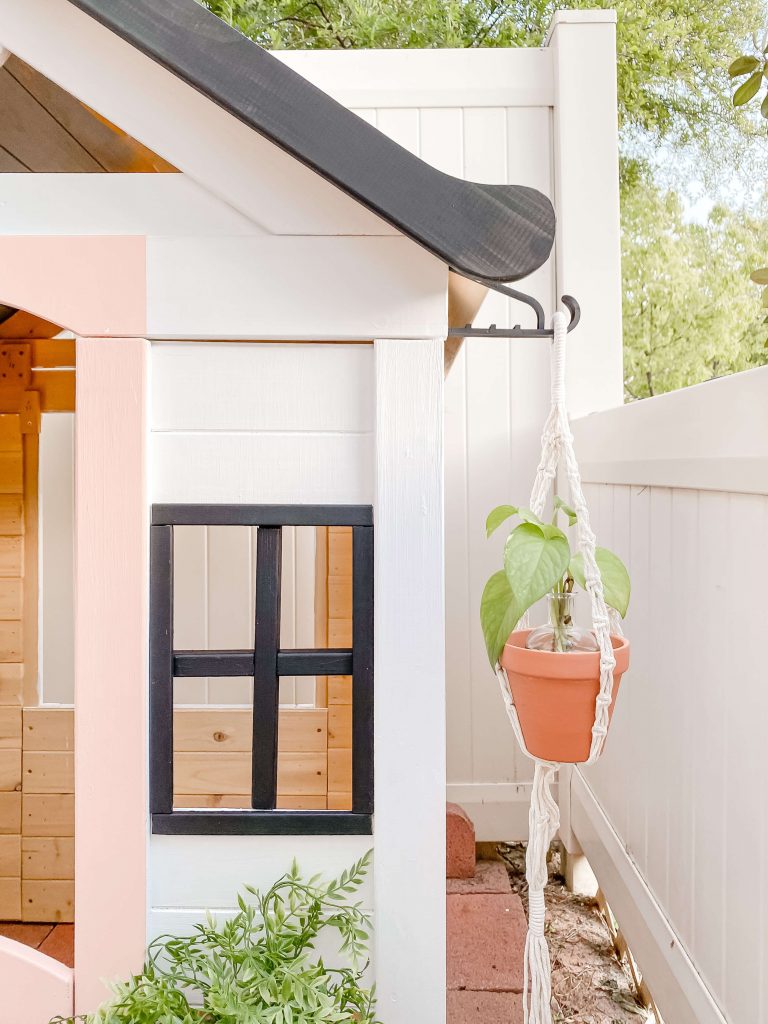
4) Add Plants!
Pops of green is always a great idea! The majority of my daughter’s plants are fake. Pretty much, because I know she will either ignore them for weeks or will over water them LOL. But on the flip side, I do love adding plants because my daughter loves to pretend to garden!
One of my favorite additions was a macrame plant hanger on the side of her house. You can purchase this pack of 3 Macrame Plant Hangers for only $15! Here are some great faux plants for your playhouse: Link 1 | Link 2 | Link 3 | Link 4
Also, I used this brown paint color to paint the two planter boxes.
5) Upgrade the Windows!
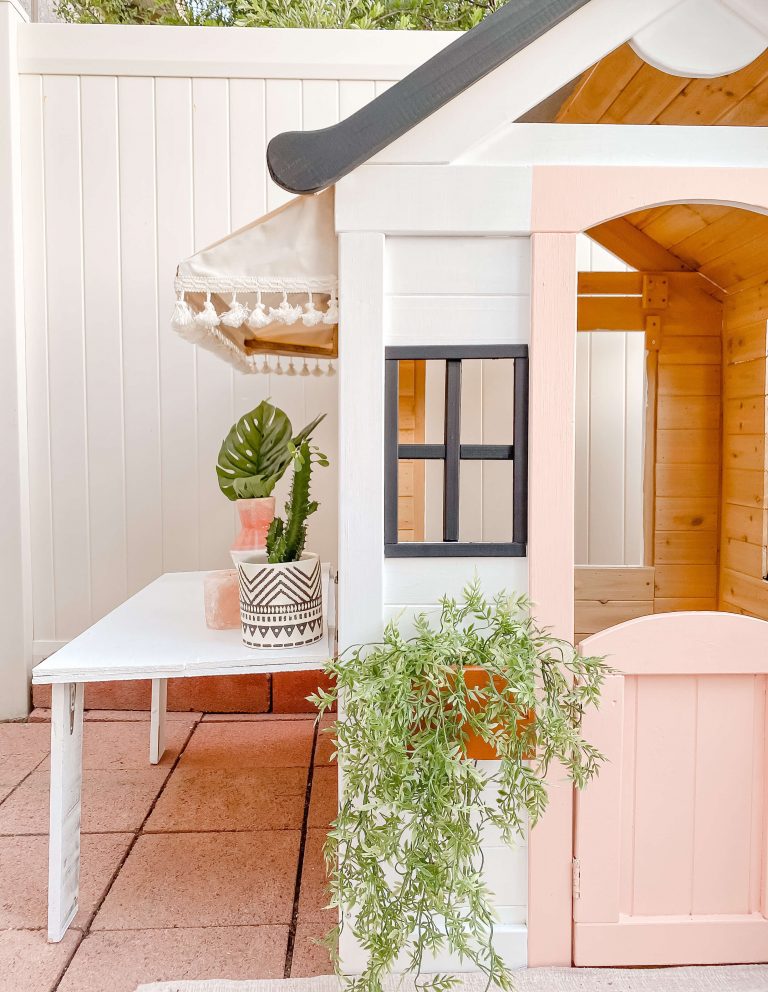
Add window trims, curtains, etc! This is so simple, and it makes a huge impact in this playhouse makeover. I simply purchased this piece of wood for about $1 then I painted it black and made window trims from it. You can also add curtains, different window trims (like a decorative border, etc).
I hope you enjoyed our playhouse upgrades!
This was a special project for us, because this playhouse makeover was the first DIY project that I did with my toddler! I truly loved seeing her creative side come out and loved seeing how proud she was when she was able to choose the additions to her playhouse makeover. She even loved she helping me paint the playhouse.
Which one was your favorite addition in the playhouse makeover?
Feel free to contact me if you have any questions! I would love to help! @tiffanie.anne or [email protected]
↡ ↡ PIN IT on PINTEREST ↡ ↡

Transforming scraps and leftovers into something new is my kind of thing! Sustainable living can be simple. Let me show you my favorite sustainable tips and hacks that help you, your family, and the environment.